Google Cloud Monitoring
Google Cloud Monitoring FAQs
Please visit: FAQ's for Destinations to find the most frequently asked questions for the Google Cloud Monitoring Destination
Overview: How do I configure this destination?
Cloud Monitoring Monitoring API
Before continuing with the setup process, the Cloud Monitoring Monitoring API will need to be enabled. For further instruction, please read Enabling the Monitoring API .
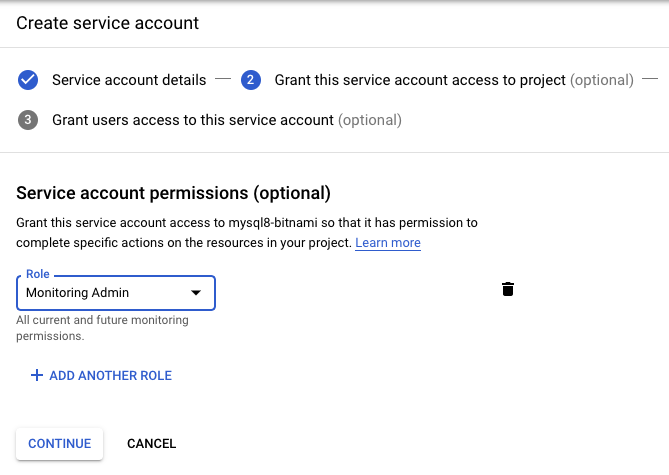
In order to configure a Google Cloud Monitoring destination, you will need to create an IAM Service Account with the Monitoring Admin role. For more information on this process, see IAM Service Account.
Once this is completed, you will need to download the private key json file associated with that service account. The contents of this file should be copied to the Application Credentials field in BindPlane.
Before saving the destination, you will need to perform a test connection, which will verify that the Application Credentials supplied are valid and possess the appropriate monitoring role.
Walkthrough: Creating the Service Account for your GCP Project
GCP IAM Create the Service Account
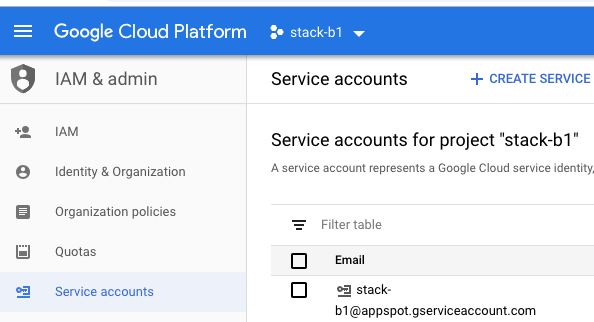
Use GCP IAM Service Accounts to create a new account.
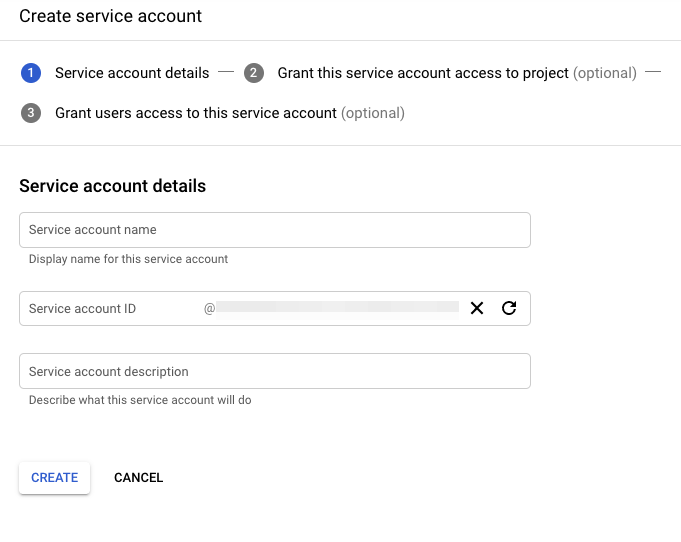
Fill out the Service Account Details
Give this Service Account the Monitoring Admin Role
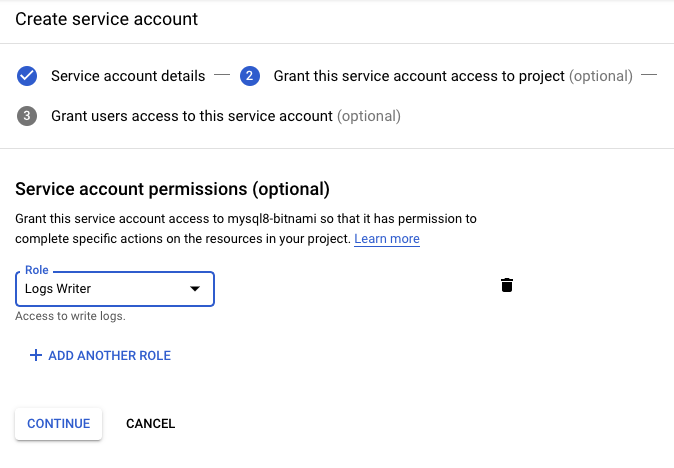
Give this Service Account the Logs Writer role
IMPORTANT STEP
Make sure to generate this, as this is an optional step with the user creation and can only be downloaded at this step.
Generate and Download the JSON private key.
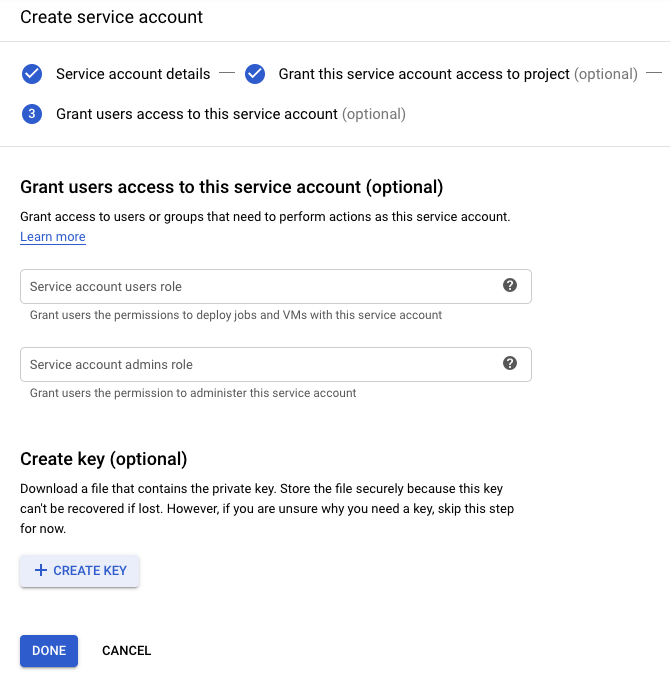
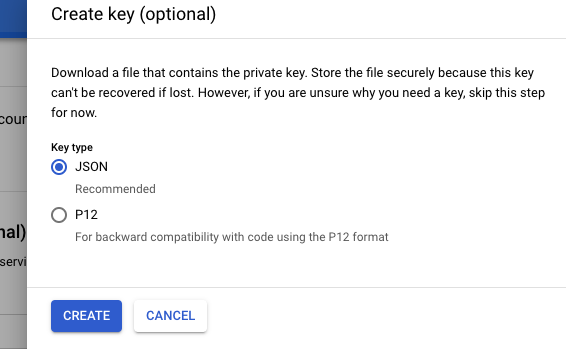
Copy the JSON file contents to the Google Cloud Monitoring destination configuration

How do I find my data?
Integration data is sent using the Google Cloud Custom Metric API.
Within Google Cloud Monitoring, BindPlane metrics will be associated with the bluemedora Monitored Resource type. The namespace of each metric will be formatted as /{integration}/{resource}/{metric}.
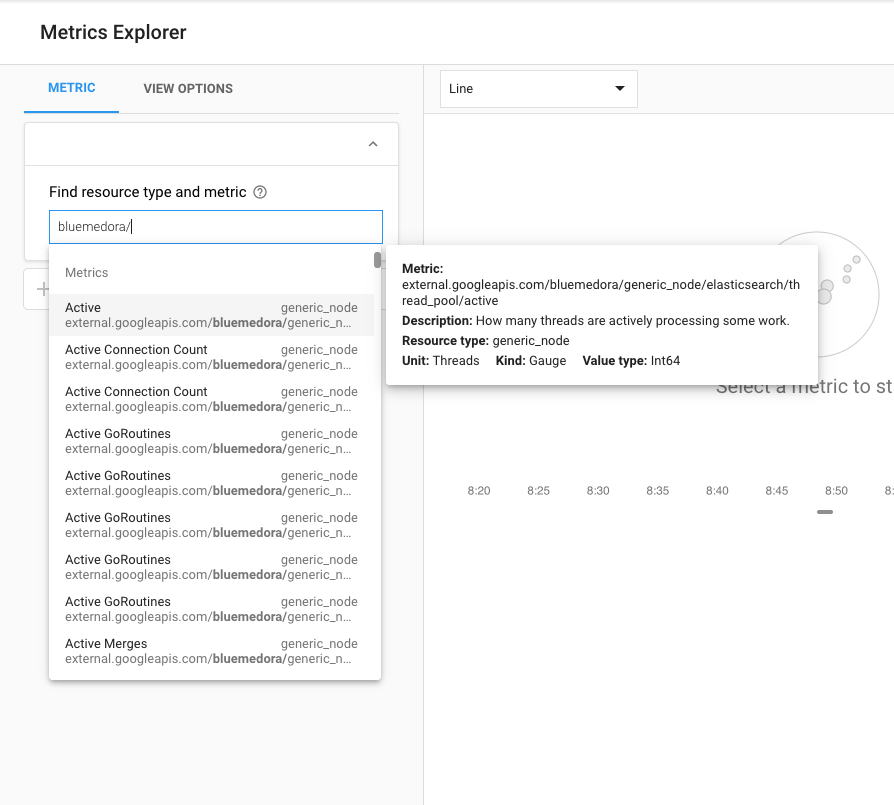
Enabling the bindplane_id in Google Cloud Monitoring
bindplane_id in Google Cloud MonitoringWhen enabled, a bindplane_id label will be added to all metrics coming from BindPlane in your Google Cloud Monitoring Destination. This ID only contains letters and numbers, making it more likely to be compatible with other tools with strict naming convention requirements (the default 'node_id' contains hyphens and spacing, making it less compatible with other tools).
For example, a bindplane_id can be leveraged for GKE Horizontal Pod Auto Scaling. You can find more information about this here: How to Leverage BindPlane Metrics for Kubernetes HPA.
Impact on existing metrics being collected
Enabling the
bindplane_idwill impact existing metrics that are already being collected. Effectively, thebindplane_idwill be added to the metric as an additional label, and therefore, a new version of the metric will be created: (see attached screen shot). If a new Destination is created with thebindplane_idenabled, all metrics that are collected will have abindplane_id.
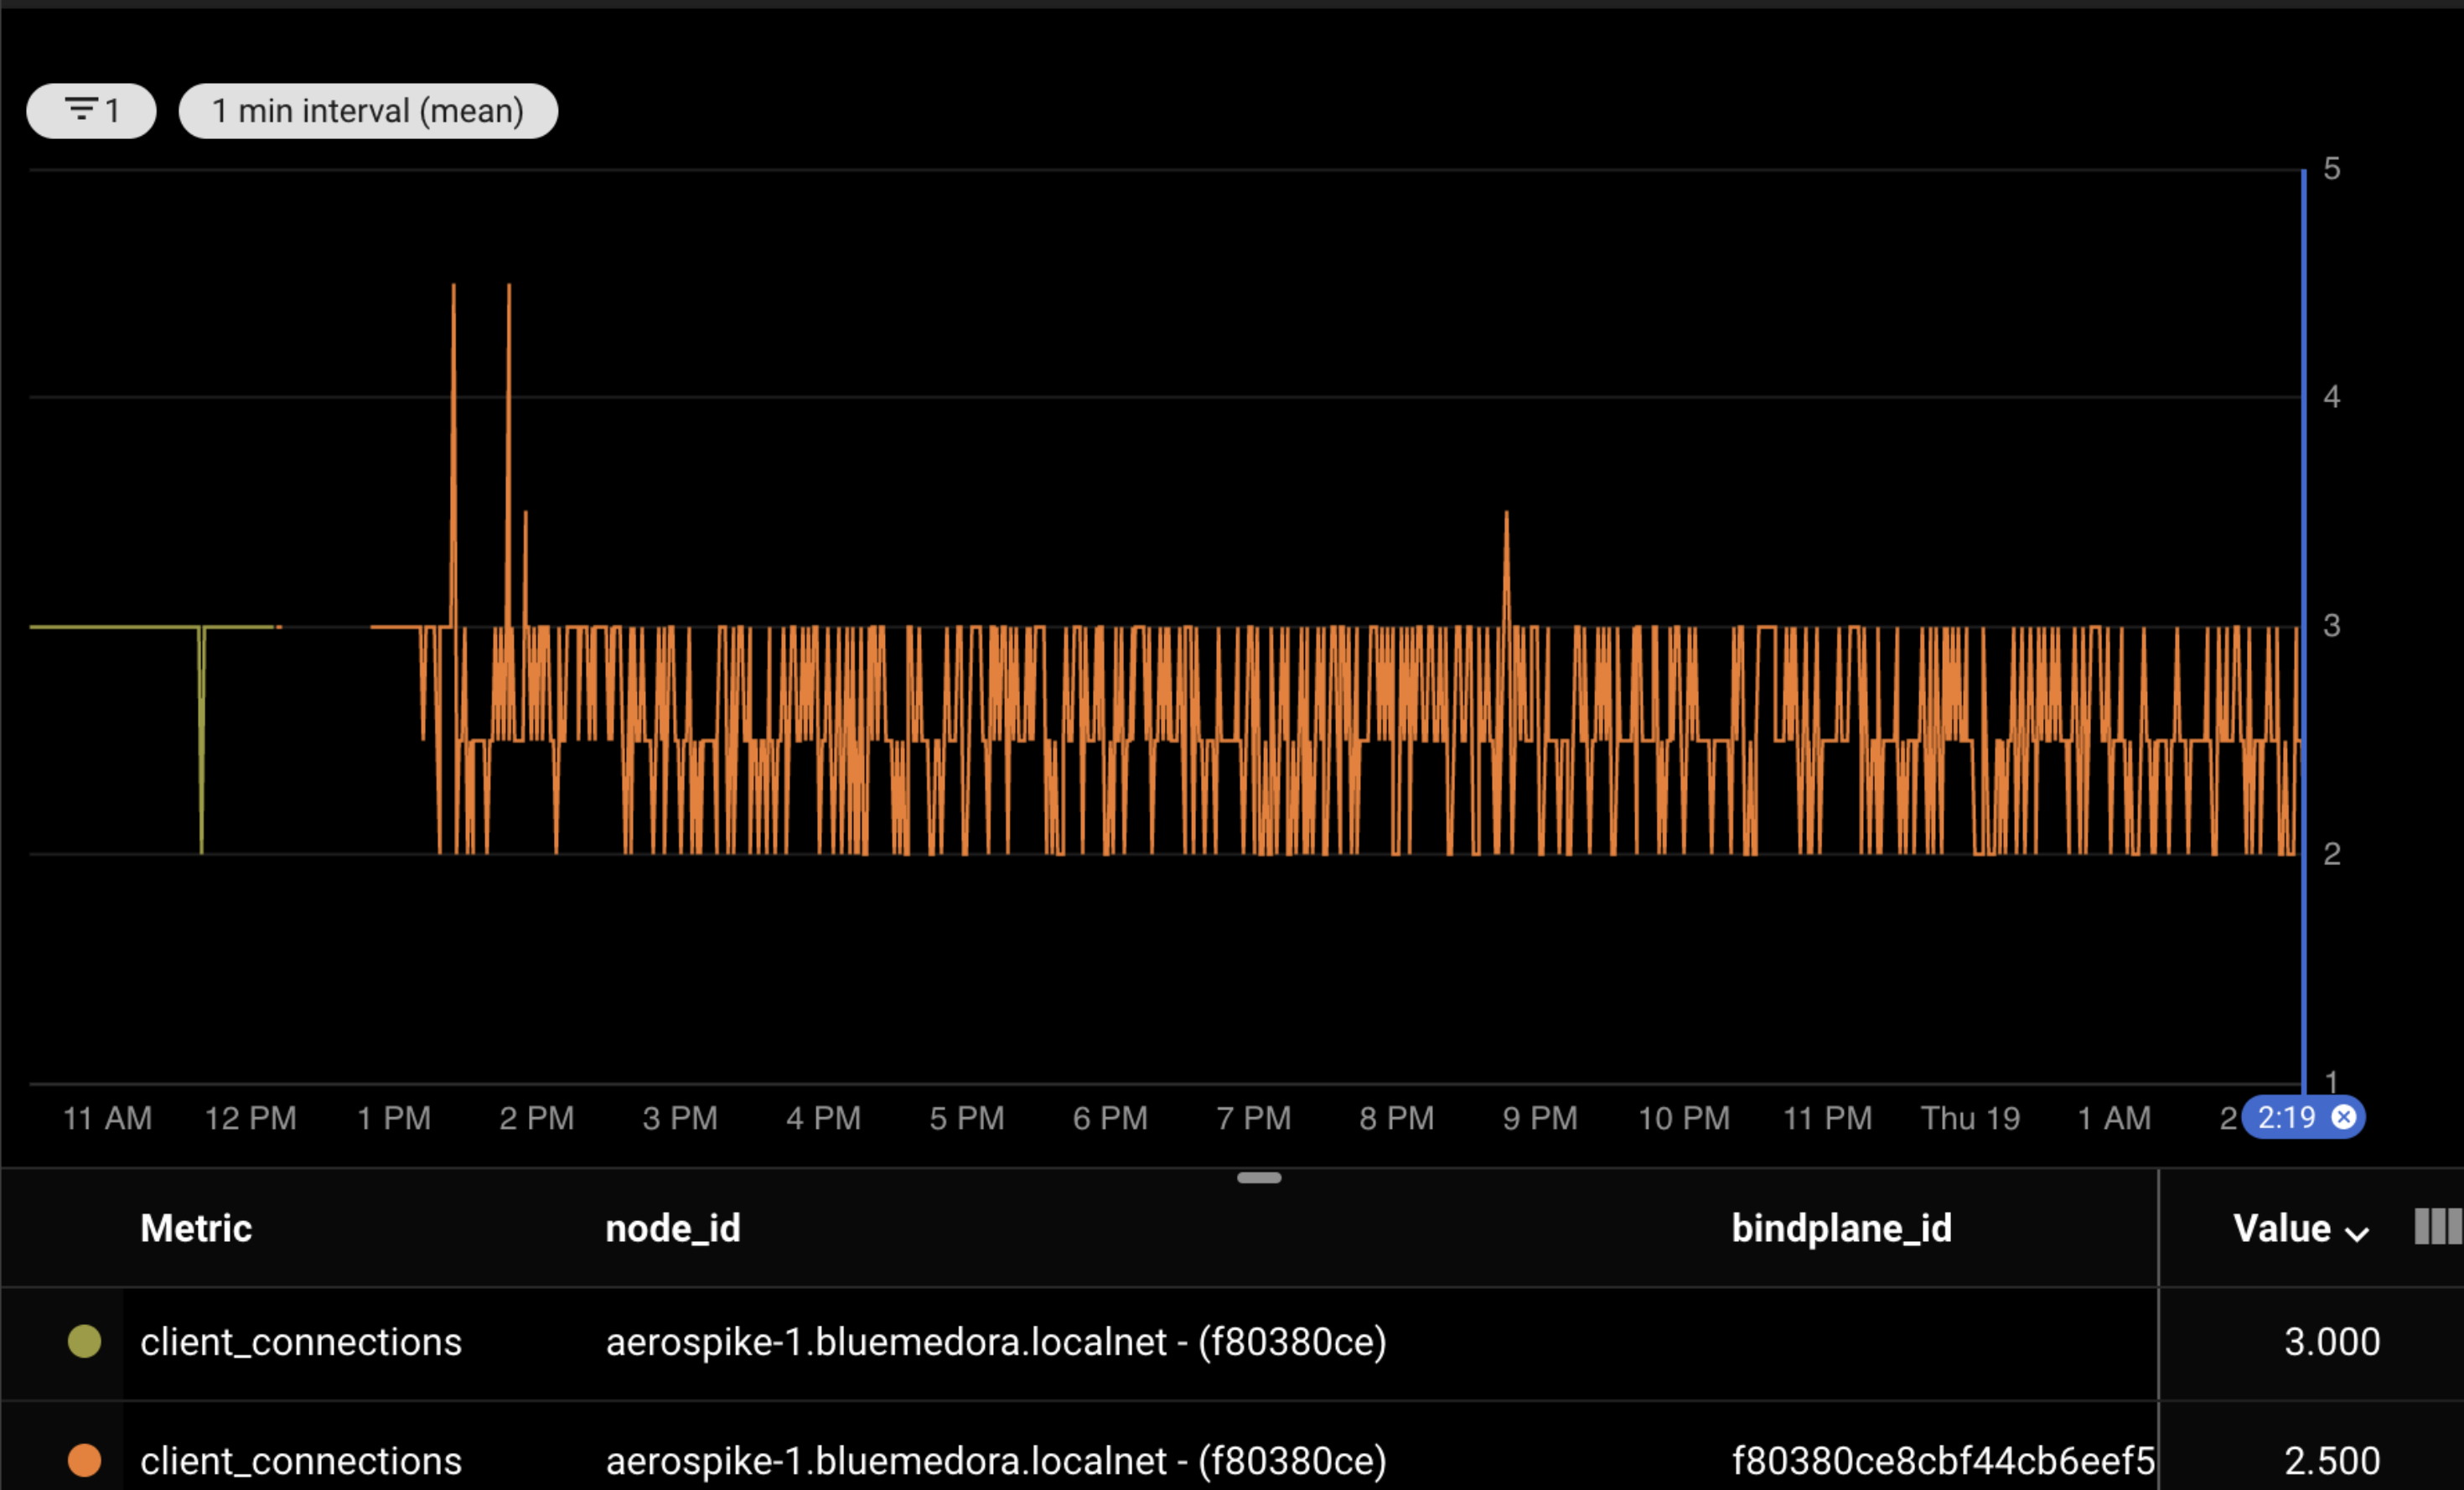
Example of bindplane_id
To enable the bindplane_id do the following:
For New Accounts
- Configure a Destination
- Choose Google Cloud Monitoring as the Destination
- Check the box marked Include
bindplane_idLabel
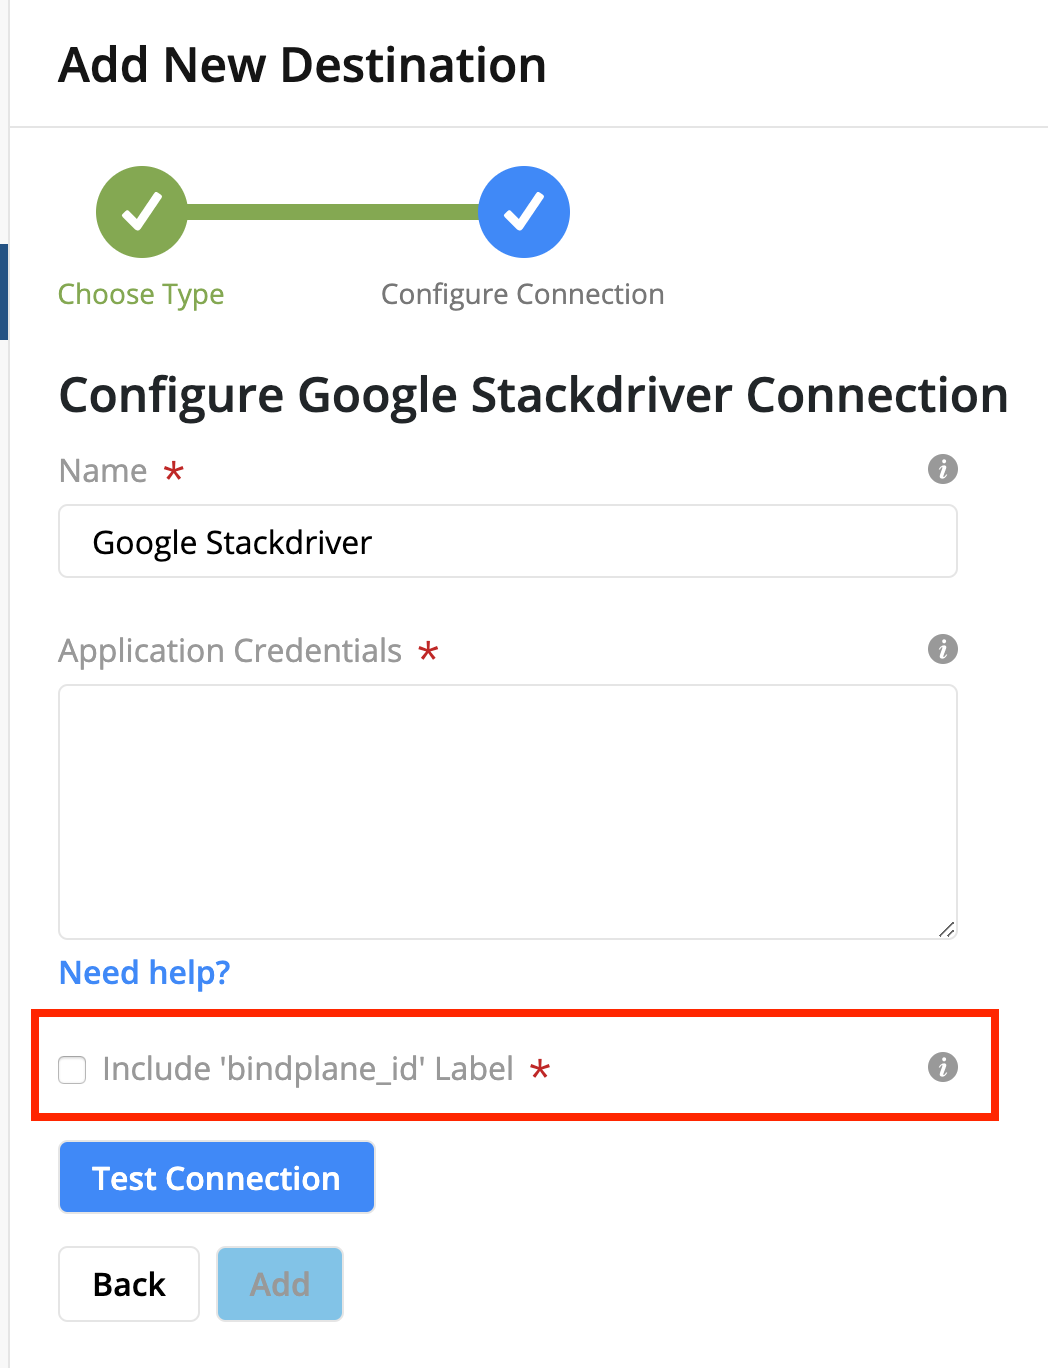
Checkbox for bindplane_id
Existing Accounts
- Edit an already existing Google Cloud Monitoring Destination
- Check the box marked Include
bindplane_idLabel
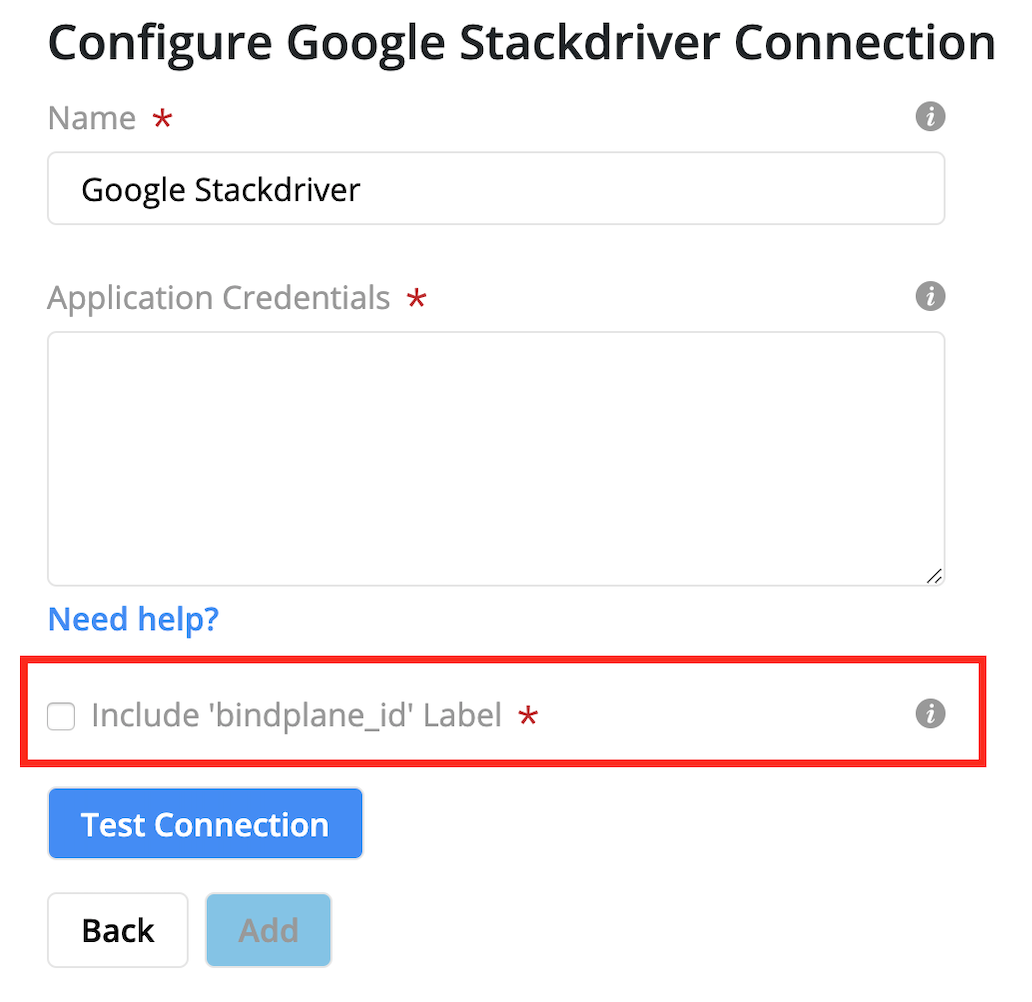
Checkbox for bindplane_id
Updated almost 5 years ago
